Tutorial: Dialogue Branch Web Service - Installation
The Dialogue Branch Web Service is a JAVA Spring Boot Application that can be deployed as a web service. It acts as a wrapper around the Dialogue Branch Core Java Library, offering an API that allows you to create client-server dialogue applications.
In this tutorial you will learn how to run the Web Service on a local machine, using the platform's bundled local development stack (a MariaDB database and a Keycloak instance for authentication, both run through Docker Compose), so you can authenticate with your own user account and try out the default set of dialogues.
Prerequisites
Before you get started, make sure you have the following tools installed:
- Git
- Docker (with Docker Compose)
- Java (OpenJDK 17 or newer) — only needed if you want to build/run the Web Service outside of Docker (e.g. via
./gradlew bootRun, see Starting the Local Development Stack below).
Clone the repository
The Web Service's source is part of the Dialogue Branch Platform monorepo:
git clone https://github.com/dialoguebranch/platform.git
cd platform
We will refer to this folder as <PLATFORM>. The Web Service itself lives under <PLATFORM>/apps/api/, and the Docker Compose file for the local development stack lives at <PLATFORM>/infrastructure/docker/compose.yml.
Starting the Local Development Stack
The platform's Docker Compose file defines a MariaDB database and a Keycloak instance, and can optionally also build and run the Web Service itself (behind the api Docker Compose profile).
The simplest way to get a fully working local deployment, without needing a local Java installation at all, is:
docker compose -f infrastructure/docker/compose.yml --profile api upThis starts, in order: MariaDB, Keycloak (pre-configured with a dialoguebranch realm and a public dlb-web-service client), and the Web Service itself (built from the apps/api/packages/core sources using the repository-root Dockerfile).
Alternatively, if you'd rather run the Web Service directly from source (e.g. while developing), start only the dependencies and run the Web Service yourself:
docker compose -f infrastructure/docker/compose.yml up   # (1)
cd apps/api
./gradlew bootRun # (2)- Starts MariaDB and Keycloak only (the
apiprofile is not enabled, so the containerized Web Service does not start). - Builds and runs the Web Service against those dependencies, using the defaults already configured in
apps/api/src/main/resources/application.yml(which point atlocalhost:3306for MariaDB andlocalhost:8081for Keycloak).
Either way, once started, the Web Service is available at:
http://localhost:8089/dlb-web-service
and Keycloak's admin console is available at:
http://localhost:8081
Loading Dialogue Content
On first startup, the Web Service automatically seeds a default project from apps/api/src/main/resources/projects-seed/ into the database — you don't need to configure anything to have some dialogues available to try out. The seeded project's slug is default-test, and includes a simple basic.dlb dialogue we'll use in the next tutorial.
Beyond the seed project, dialogue content is managed through the API itself (/project/*, /authoring/*, /publish/* end-points — see Dialogue Branch Web Services) or through Dialogue Branch Studio's visual editor, rather than by dropping files onto disk.
Creating a Test User
The bundled Keycloak realm import does not create any users by default, so before you can call any authenticated end-point, you need to create one yourself:
- Open the Keycloak admin console at
http://localhost:8081and log in with the default admin credentials,admin/admin. - Make sure the
dialoguebranchrealm is selected (top-left realm switcher). - Under Users, click Add user, give it a username (e.g.
testuser), and save. - On the new user's Credentials tab, set a password (turn Temporary off, so you're not forced to change it on first login).
- On the Role mapping tab, click Assign role, switch the filter to Filter by clients, and assign one or more of the
dlb-web-serviceclient roles:participant,editor,admin,supervisor(see Authentication for what each role permits — for exploring the full API, assignadmin).
Verifying the Installation
Open a web browser and navigate to the Web Service's Swagger UI:
http://localhost:8089/dlb-web-service/swagger-ui/index.html
You should see something like the image below — the interactive API documentation of the Dialogue Branch Web Service.
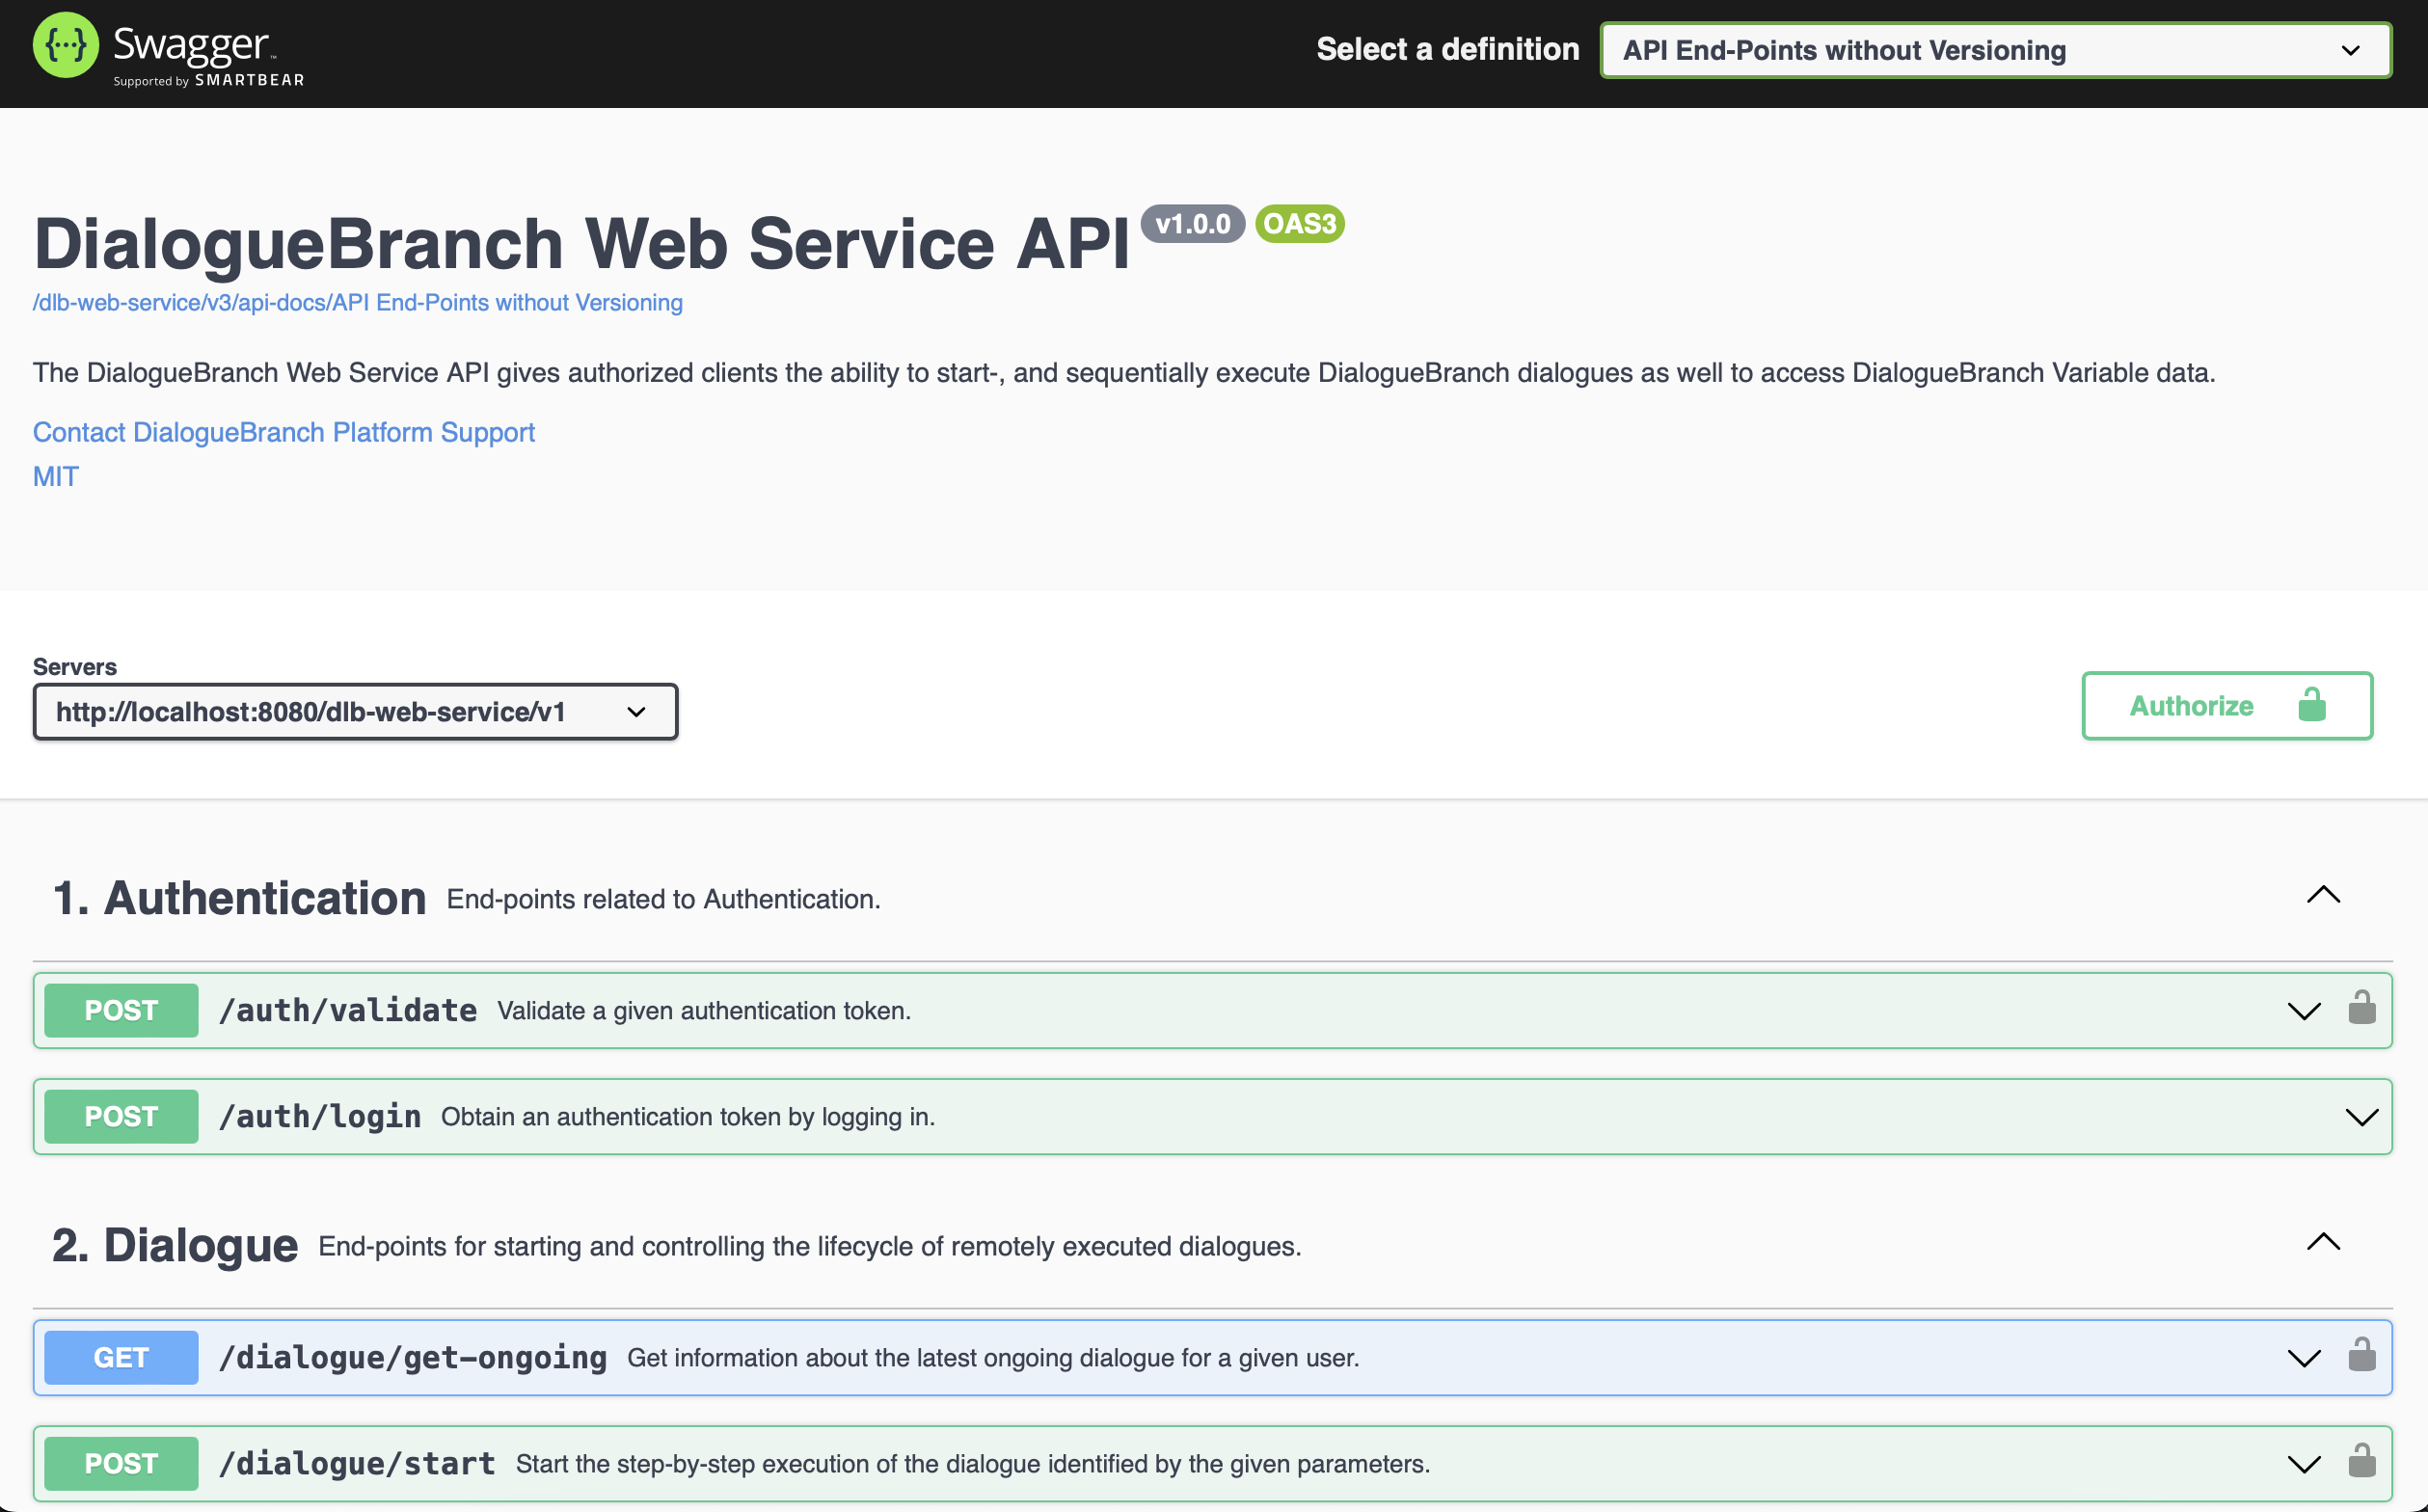
If deployed correctly, this is what you should be seeing - the Swagger API Documentation of the Dialogue Branch Web Service.
As a first sanity check, unfold the 1. Info section and try the /info/all end-point — it requires no authentication and should return basic information about the running service (build time, protocol version, service version, uptime).
What's next?
Now that you have the Dialogue Branch Web Service running, it's time to start using it. As a next step we recommend checking the Tutorial: Dialogue Branch Web Service - Exploring the API.
Note
If you found errors or have questions about this tutorial, please let us know by sending an email to info@dialoguebranch.com.